Skip to main content
Loderbichl
Latest news
Gipfelsieg
Event images
Wimmer family || Your hosts
Restaurant
Holiday apartments
Holiday apartment Lilli
Holiday apartment Vroni
Holiday apartment Kati
Holiday apartment Hansi
Holiday enquiry || secure your holiday booking!
Lofer Alpine lodges
Loderbichl farmhouse
Wastlkaser Alpine lodge
SaalachTal
Summer holiday || Lofer summer paradise
Winter holiday || Lofer winter paradise
Contact
Arrival
Our partners
Imprint
Loderbichl
Loderbichl
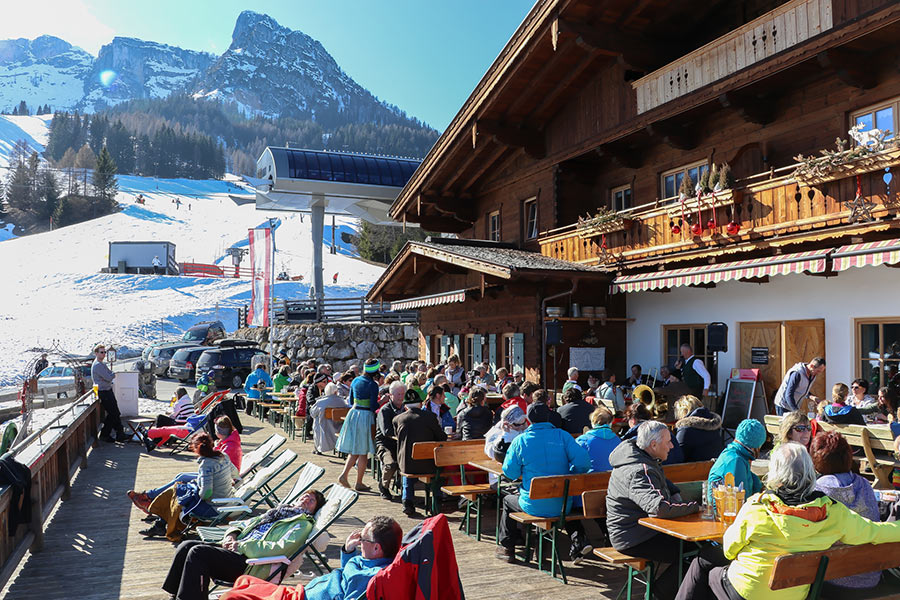
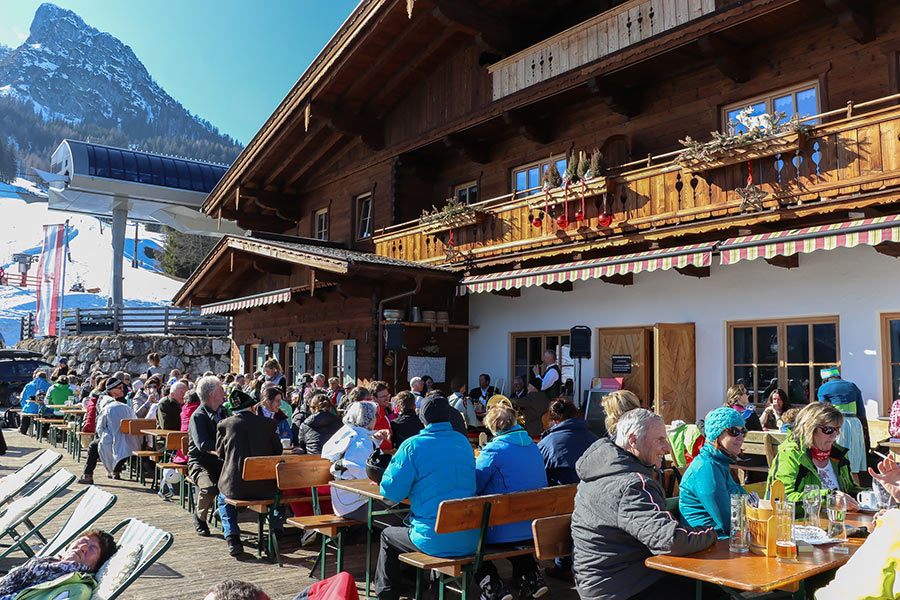
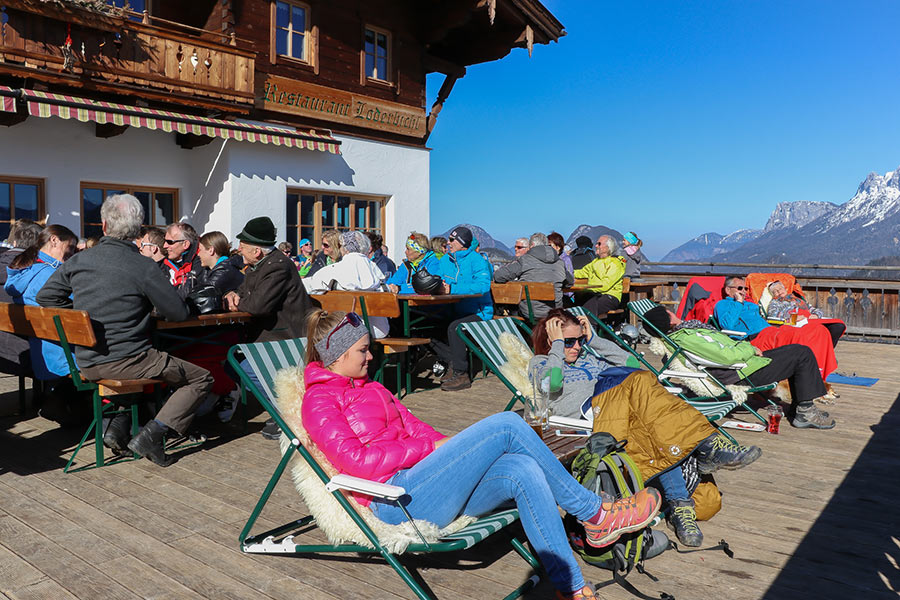
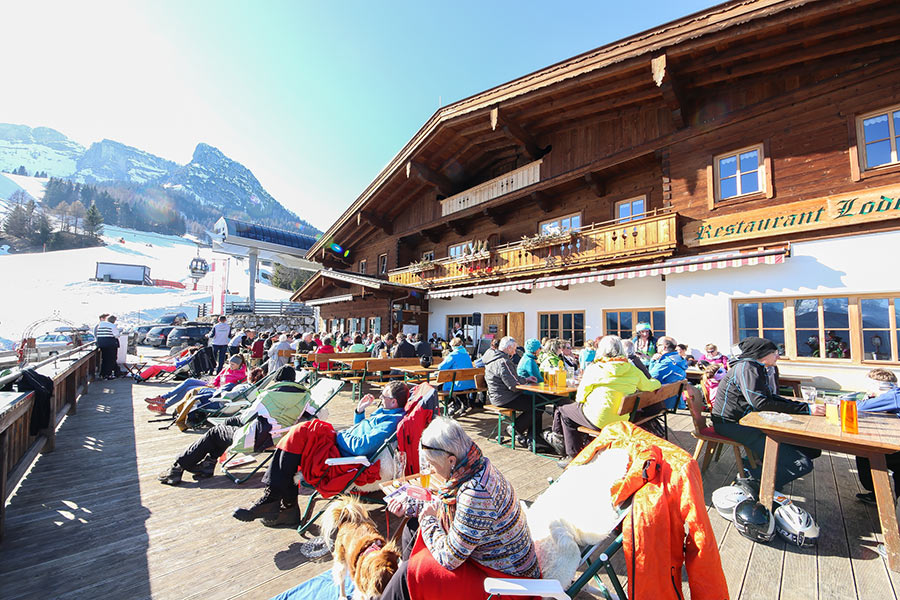
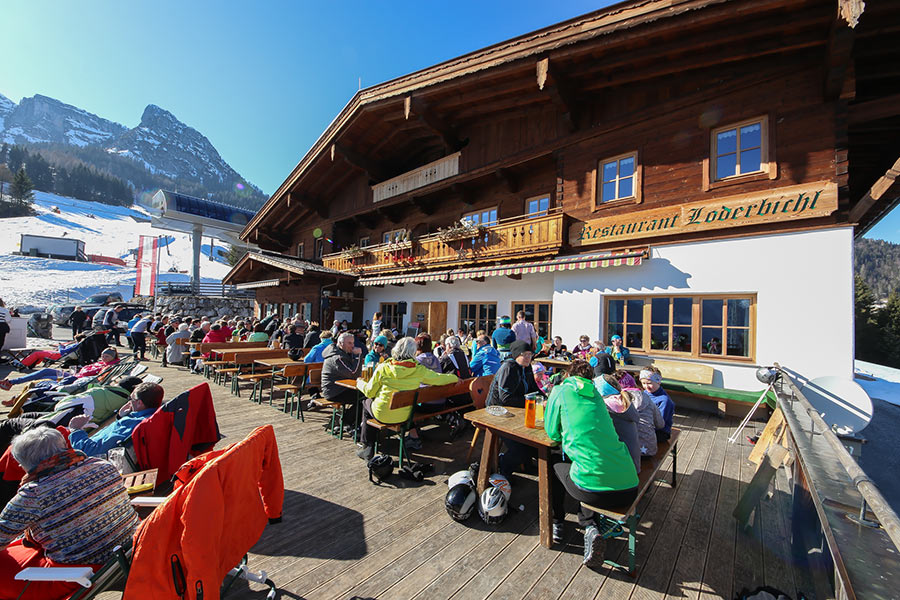
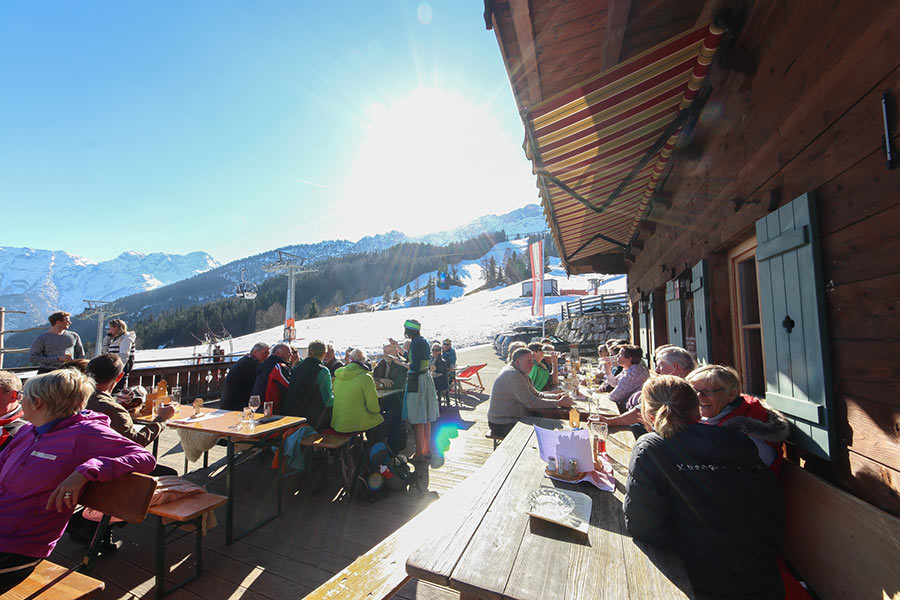
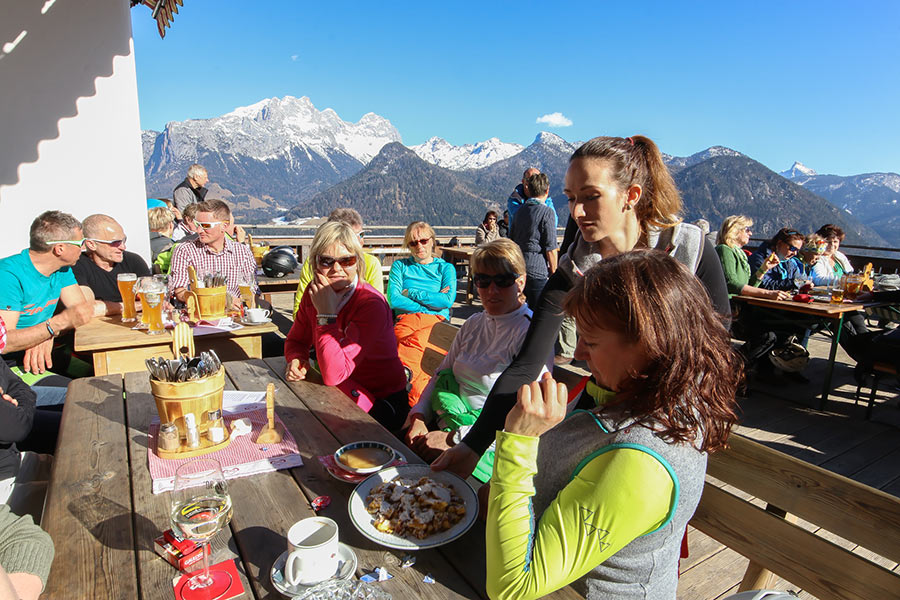
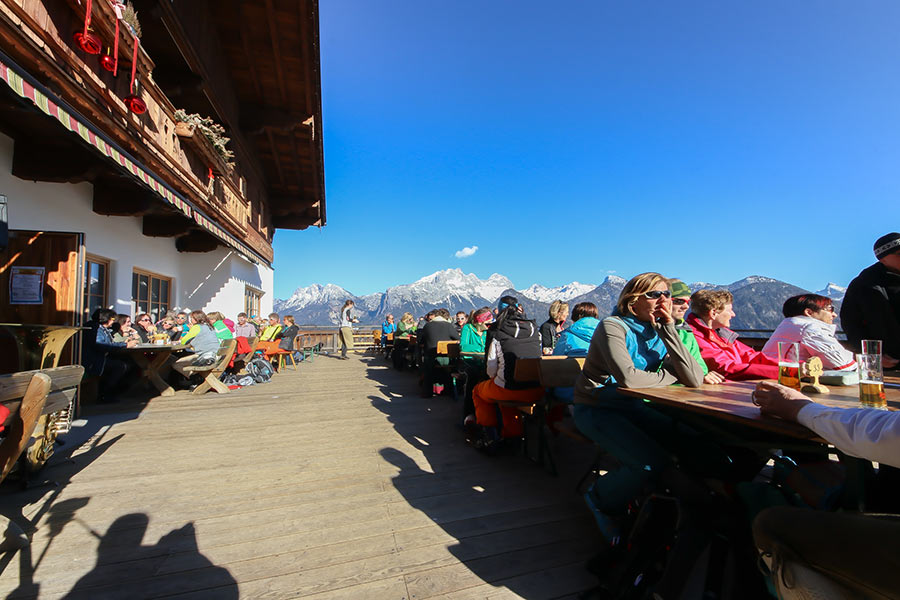
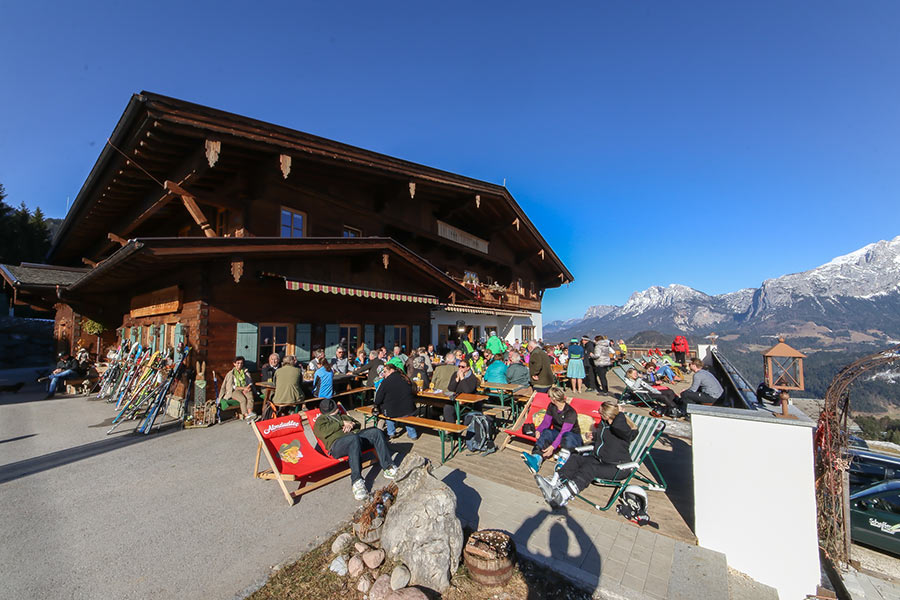
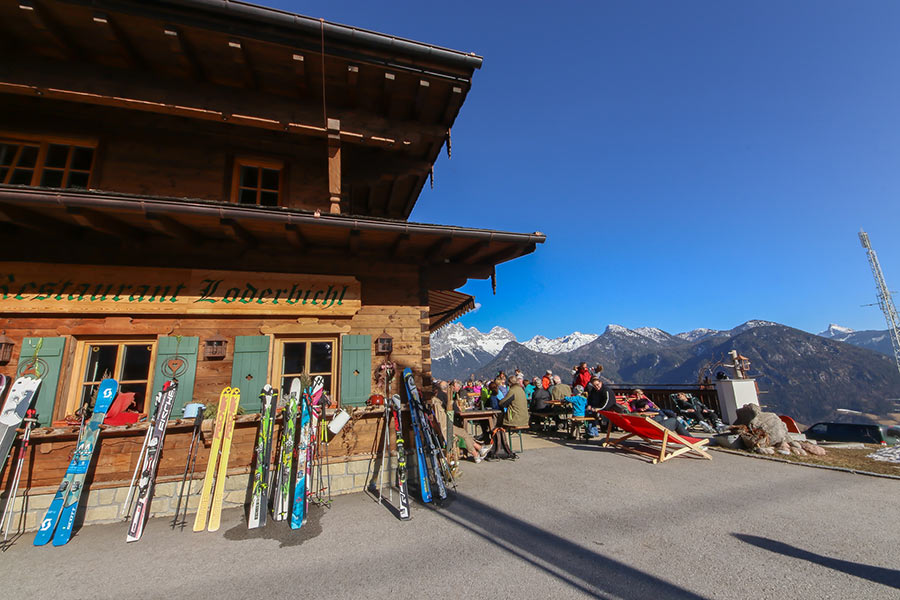
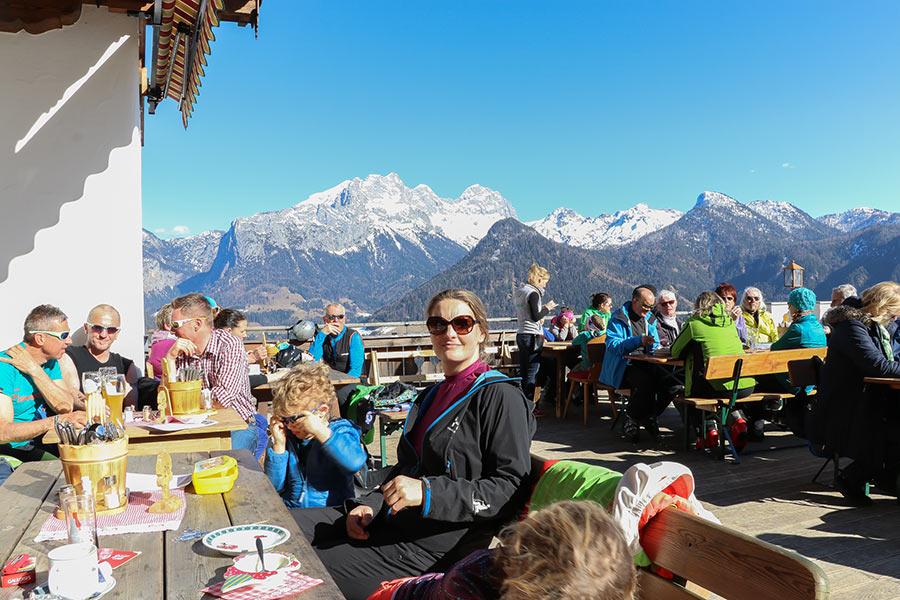
Event images
Picture gallery
Loderbichl in images
© 2019 fullmarketing.at GmbH


")